Pages

Sunday, October 28, 2012

Regency Corset pattern from Mantua Maker

 
I used corset satin for the outer layer and cortil for the inner layer.  Pink bias binding and lacing cording added some colour to the corset.


Regency Stays - Sense and Sensibility pattern

I used Bull Denim for the outer layer and Artist Canvas for the inner layer. As the fabrics have a tight weave and are very strong, I only used two layers for my stays.

I extended the width of the outer fabric by 6/8 inch at the centre front so I could create a boning channel on the inside.  This photo is of the inside layer and shows the boning channel.


I prefer single lacing rather than cross lacing.

Saturday, October 20, 2012

Fur muff, fur tippet and a Regency open robe

August update:

I have completed 3 items in August. They are fur muff, fur tippet and a Regency open robe.The patterns of the muff and tippet were based on "Jane Austen Sewing Box" book. For the Regency Playford ball, I made an open robe using sensibility sleeveless pelisse pattern. I used an ivory "silk" like polycotton for the bodice and sheered curtain for the skirt.

Work in progress items this August are: 2nd mock up of 1817 Spencer Jacket outer sleeves, mock up of man's Regency pants, man's shirt 80% completed, man's waistcoat pattern cut out.

Thursday, October 18, 2012

August: Folkwear Empire Dress

July/August Project:  Folkwear Empire Dress.


I sewed my blue silk evening dress using the Folkwear pattern #215 .  The only change I made was placing two fabric covered buttons at the back where the drawstrings tie.

Wednesday, October 17, 2012

1780s Portrait Dress by Aylwen


Our 18th century ball is on this weekend so I'm trying to get my 1780s dress finished. I've had this silk stored in my attic for some years now and feel confident cutting into it now I've had some weight loss. I'm not sure if I'll get my trim sewn in time - if not, that can be done later.
I'm using a dress in the Snowshill collection as my inspiration - images and scale patterns are in Costume in Detail and Patterns of Fashion - and its close to my size 12. My fabric is Duran silk from Sweden.


Tuesday, October 16, 2012

A Regency bodice free petticoat


I need a new petticoat, I like the style on the right, it ensures the bodice of the gown has less bulk underneath.

This has been an easy project, I used my skirt pattern from Sense and Sensibility's Elegant Lady's Closet pattern.

I calculated the waistband circumference by putting on my stays and taking that measurement around the bottom of the stays.

I also calculated the length of the 'braces' that hold the petticoat skirt on the body by measuring the length across the shoulders from the side front xtays, across the stays straps, to the side back stays.

Petticoat back with gathers, I created a side slit to enable me to put it on with ease

Front without gathers

Petticoat finished:
Back view with side opening

 Front
 Close up of front, my stays aren't laced as tightly as they could be on Ermentrude.

To finish it I hand stitched the hem with shell stitch while watching the Olympics and then discovered that it was too long, argh!, so I put in a two inch tuck and shell stitched its edge and it looks very pretty and I saw lots of the Olympic events as well.

Shell hemmed edges at bottom of petticoat


Regency 'little white dress' - a bib fronted gown

I am creating my very first Regency 'little white dress', the essential dress of the early period of the Regency and Directoire periods. I have steered clear of white for a long while as I am sure to spill beetroot on it the first time I wear it, even if beetroot is no where near me! I'm like that lol!

I also felt the gown could be a tad ingenue for a women of my 'certain age', but it seems all ages wore them, so who am I to declare that I am of an unsuitable age?

Not only will the gown be white, it is also a sheer muslin, so la, you will be able to see right through it and will be bib fronted, my very first of these as well. I'm using the Hungarian Chicks brilliant tutorial on the bib front gown with the pattern based, loosely, on the one in Janet Arnold's Patterns of Fashion.

This gown is going to be the base for bright shawls, sleeveless spencers and over gowns. It will enable me to 'ring the changes' with the very small wardrobe I can take on the plane to Bath.

I particularly love the sleeveless spencers on the right, they will add colour and difference at the bodice and won't be bulky to pack, unlike four different gown styles.

It is rather exciting working with such sheer fabric, the muslin is so beautifully soft and has a slight sheen.

I cut the gown out two days ago and started sewing today, the Hungarian Chick says that once you get the hang og it, you can whip this gown together in four hours, I'm not as fast as that, but it has been a surprisingly quick project.

So, first, the bodice, which I am pinning closed, rather than using buttons, pins are definitely a period closure and I detest buttonholes, yes I am a coward where they are concerned. I'm also running a thin cord through the bodice neck line to draw it in close with a slight gather, or loosen it off, should I want a lower bodice for evening wear. This is a technique used in the late 18th century gowns and all through the 19th and into the early 20th.
White on white on white, so very hard to see the bodice front

Back bodice, a better pic
The next step is to put the skirt together. Now, I didn't follow the Hungarian Chick's tutorial to stitch the skirt together because I didn't get it at first and was too impaitent to get start, d'oh, so instead I stitched five gown 'drops' together from the width of my fabric, selvedge to selvedge and after all that seaming, I'll also have a massive hem to stitch, next time, I will use her method which has only one skirt seam and a selvedge for the hem. Having created my large 'tube' as she calls it, I found the centre front, measured 8" in and 18" down and cut the front bib slit in the skirt and hemmed both sides with a rolled hem.

Next I made my bodice bib front, I cut a long strip of muslin on the cross (bias) and then gathered it in to create a lovely ruched effect.

 Then I pinned the skirt on to see how it would work

Looking good, I need a few more pleats to compensate for my plump tummy. Next I'll had the sleeves into the bodice and then attach the skirt and beyond metres of hemming, it will be finished, that is indeed quick.

It is rather exciting working with such sheer fabric, the muslin is so beautifully soft and has a slight sheen.


I cut the gown out two days ago and started sewing today, the Hungarian Chick says that once you get the hang og it, you can whip this gown together in four hours, I'm not as fast as that, but it has been a surprisingly quick project.


So, first, the bodice, which I am pinning closed, rather than using buttons, pins are definitely a period closure and I detest buttonholes, yes I am a coward where they are concerned. I'm also running a thin cord through the bodice neck line to draw it in close with a slight gather, or loosen it off, should I want a lower bodice for evening wear. This is a technique used in the late 18th century gowns and all through the 19th and into the early 20th.
White on white on white, so very hard to see the bodice front

Back bodice, a better pic
The next step is to put the skirt together. Now, I didn't follow the Hungarian Chick's tutorial to stitch the skirt together because I didn't get it at first and was too impaitent to get start, d'oh, so instead I stitched five gown 'drops' together from the width of my fabric, selvedge to selvedge and after all that seaming, I'll also have a massive hem to stitch, next time, I will use her method which has only one skirt seam and a selvedge for the hem. Having created my large 'tube' as she calls it, I found the centre front, measured 8" in and 18" down and cut the front bib slit in the skirt and hemmed both sides with a rolled hem.


Next I made my bodice bib front, I cut a long strip of muslin on the cross (bias) and then gathered it in to create a lovely ruched effect.


 Then I pinned the skirt on to see how it would work


Looking good, I need a few more pleats to compensate for my plump tummy. Next I'll had the sleeves into the bodice and then attach the skirt and beyond metres of hemming, it will be finished, that is indeed quick.

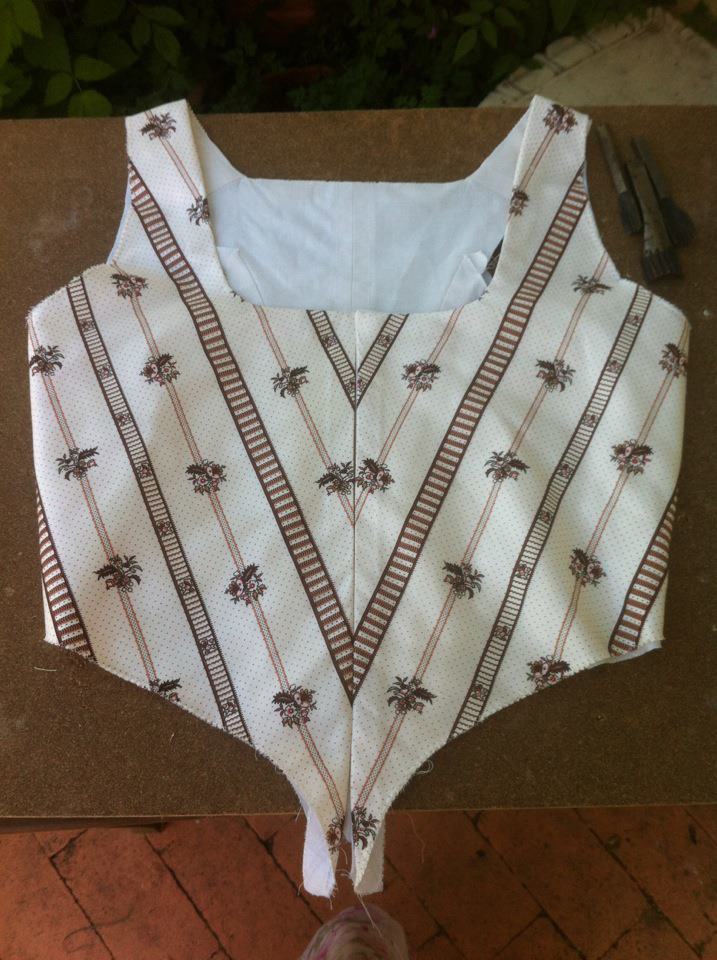
Cutting the facing for the bib front bodice

The bib front with bib bodice attached

The gown is finished, I feel it has turned out very well.

With bib front down, I gathered my under bodice with ribbon, rather than fitting it and adding buttons, I think it gives more versatility size wise

With bib front attached, I didn't pleat the bib front,  I prefer a plain front

Back of gown showing ties, I haven't stitched on my tie holders as yet

Back close-up
The gown is very transparent, when you consider that most women didn't wear drawers and their chemise and petticoat was equally sheer, hmmm, risque times indeed!

The final product, off to a Regency dinner party with friends.
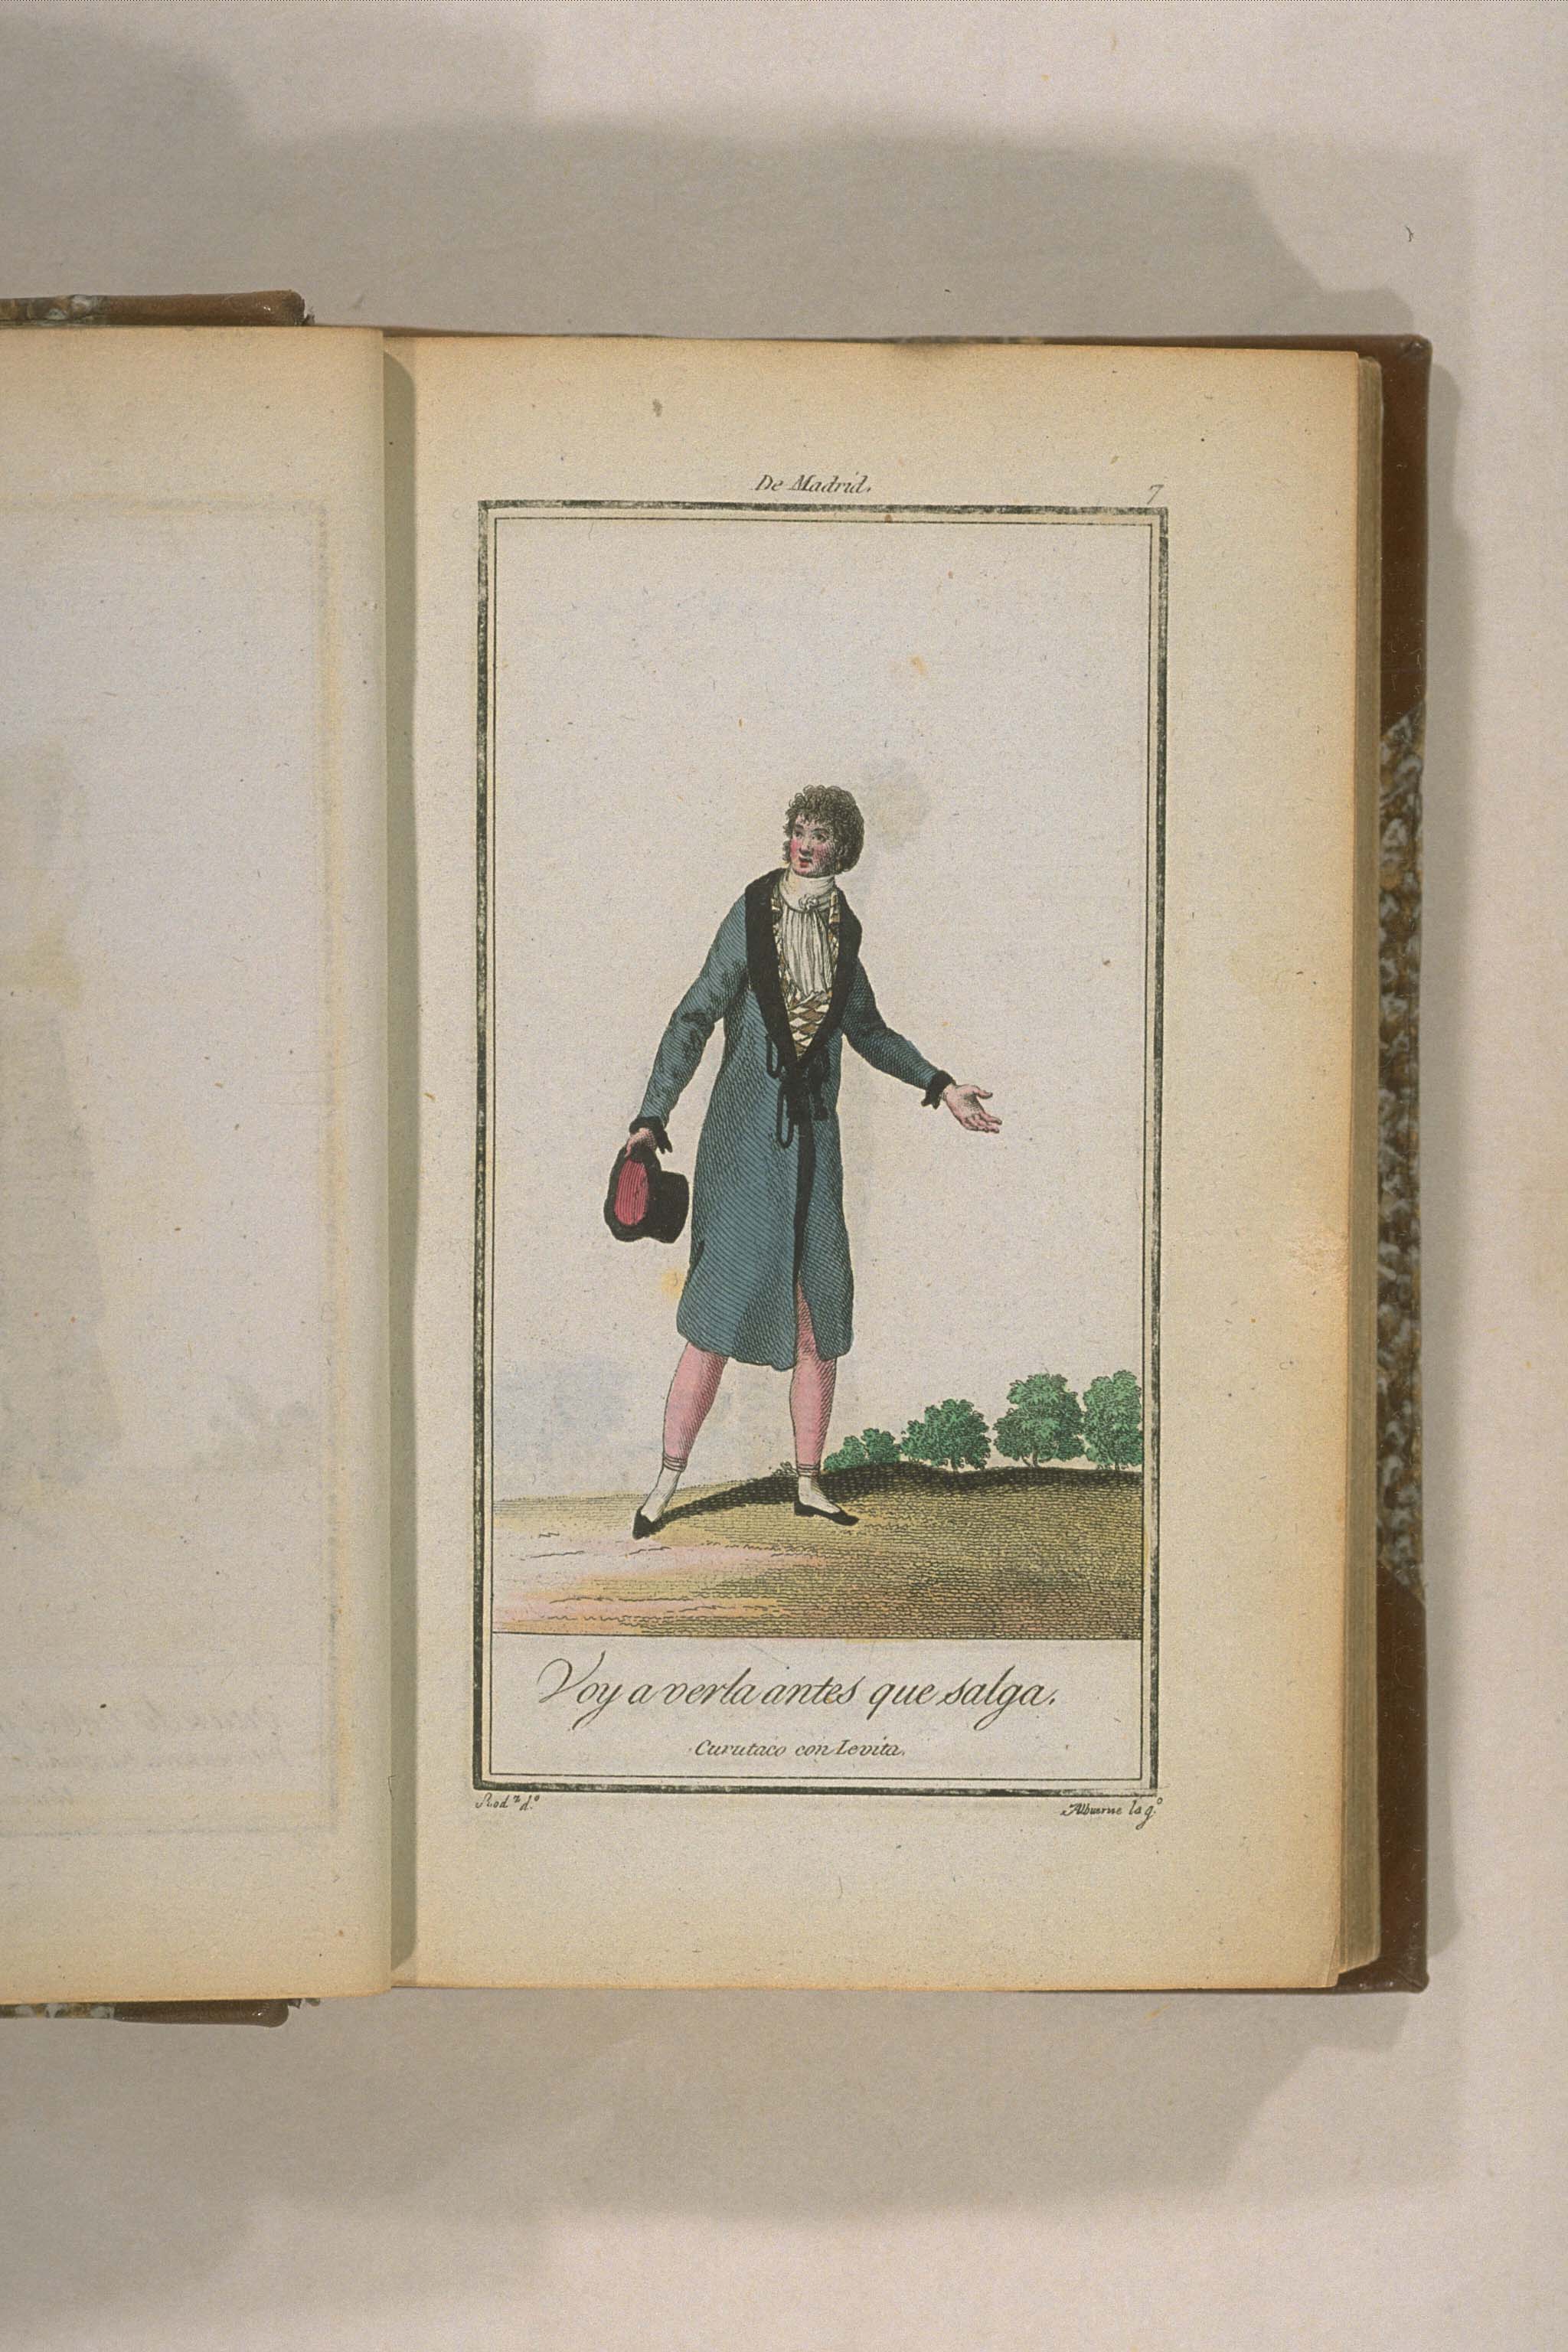


Regency outdoor long coat, banyan or dustcoat

These dustcoats probably evolved from the 18th century banyan as Cunningham suggests (see quote below), men donned the banyan over their waistcoats and trousers at home to be comfortable, similar to the Victorian smoking jacket.

The banyan was a loose, full kimono style in the early 18th century, but later evolved into a more fitted style with set-in sleeves, similar to a man’s coat. It was known as an Indian gown, nightgown, morning gown, or dressing gown. First used as a type of robe, it was originally worn for leisure and in at-home situations; but came to be worn as a coat out-of-doors, in the street, or for business. Many gentlemen had their portraits made while wearing banyans. They were made from all types of fabrics in cotton, silk, or wool
(Cunningham, 1984).

Darcy wears an outdoor version of it in the 1995 BBC version of Pride and Prejudice as can be seen on the right. Ever since J-L saw this coat, she has been pining for one and so now I'm going to fulfill that dream ... well that's the plan lol!


The dustcoat pattern, 1801-02, on the left is taken from an out-of-print book from the National Museum in Copenhagen and it comes from Aylwen's History in my Wardrobe blog. She is also intending to make a version of this dustcoat.


You can see the simple banyan front and I love his pink breeches, aren't they fun!

Fitting the toile
I copied out the pattern and enlarged it further to fit J-L's dimensions and then cut out a toile.

Front, of course this is way shorter than the real version will be

Back view, this is far more fitted and my toile was too loose, so I had to take it in considerably

Side view
I'm pleased with this toile, its fitting well and apart from incorporating the changes to the back seams, it seems to be working, woot!

Next installment 9/6/2012

I enlarged the sleeves and collar and added them to the toile ...
Front with collar and sleeves added, draped like the portraits, see image below
via Aylwen's blog

Side back with sleeves and collar

Back, with sleeves and collar

Coat over the waistcoat toile created by my apprentice, looking good

Back view of coat over toile, the dummy is a small size 10, so its not fitting that well.
I am very pleased with this, next phase is to add a length, add double breasted extension to the front and add facings and sleeve cuffs.

Long skirt extensions, now this looks right I think, but it will take a ton of fabric, I am wondering how the narrow fabric in the Regency was used. The pattern from Danks Modern doesn't have gores, which would be the way I would normally do it with narrow fabric, I will have to ponder and research.

 
Facings and proper collar added ...


Isn't it just 'tickety boo'? I'm tempted to dye it as its such a lovely toile, rather than making it in a fashion fabric, but then, I'd have no pattern, le sigh!

Here's two gentlemen also posing in the dustcoat toile, such elegance, I especially love G with his hounds ...


Onto the actual garment, I am using a beautiful silk suiting in very dark green, its light, has a lovely hand and drapes beautiful, srangely it usually photographs as black.

Adding front facings

Stitching back together

middle pleat

Front view

Side view, with pocket, original had insert pockets in side seams, I forgot and put in these, ah well, they look nice

Back view

Collar

Back collar